Do you want to use Explain Everything to share what you know?
Here is a quick tutorial on what you need to know.
You can start with a blank canvas using a template using the plus sign on the top left
of the screen.
You can also load a PDF, image or Powerpoint Slideshow using "From Pictures or Documents.
You can load a document from one of the local or cloud storage services listed below.
Here is a quick review of Some of the tools: Hand tool allows you to move things around.
Pinch an item to zoom in or out & move it around.
Insert tool allows you to add various items such as images, clip art & videos.
Pen tool allows you to change size of pen, change to pencil, add a ruler, fill your drawing
and change your stroke and fill colors.
Eraser tool allows you to choose different levels of erasing.
Choice your size of eraser, if you want to erase only active drawings, erase all drawings
and erase with images.
Fill tool.
Choose a color.
Tap a color again to change the 5 available colors.
Then you can fill any shape.
Shape tool allows you to customize the shape, draw a custom shape, add shadow and change
colors.
Text tool - Tap "A" to select.
Touch where you want to type on screen.
Customize the text on bottom of the screen.
Move it around as needed with the hand tool.
Scissor tool - Use to select and duplicate a section of the canvas.
Tap the icon twice to choose rectangular scissor tool or free hand scissor.
Delete tool - Tap "X" in menu.
Select item on screen.
Tap the red X on the top right corner of selected item.
Laser Pointer - Tap once to use, tap twice to change the laser pointer style.
Inspector tool - Tap the "box with an i".
Select all of the items you want to interact with.
Use the inspector box that comes up to group, flip, arrange and lock all of the selected
items.
One popular application of Explain Everything is the ease it allows you to make engaging
videos: 1.
Press red circle (record) to record all screen movements and your voice.
Press the two bars (pause) to stop recording.
2.
Select the timer to see your timeline.
Your time has two layers, your drawing layer and your sound later.
You can edit different parts out by holding your finger on various parts.
You can also lock individual layers.
This will allow you to dub on top of your previous drawing or keep your audio and redo
your drawing layer.
3.
Press the top right "+" to create more pages.
Once you have multiple pages, you can press ">" right arrow button on the right side
of the screen to move to the next slide.
Repeat editing and narrating on this and every other slide.
4.
Finished?
Select the Export button to save and share.
Select an Exported Name.
Choose how you want to save it.
In this case, select video.
Choose to save the video to your iPad by selecting "Photos" or in our cloud based service
by selecting Box or to the world with YouTube.
5.
Give time for the video to prepare and/or upload.
The longer the video, the longer it will take to export.
Various settings, such as resolution and quality, will also dictate how long the video will
take export.
Now you know the tools to get started, so that you can creatively share what you learn.
If you need more support, there are many great resources on the support section of Explain
Everything's website.
Happy Explaining.
 For more infomation >> [Tigers Episode] The classic arcade game! Shy plays Minesweeper and talks - Duration: 4:56.
 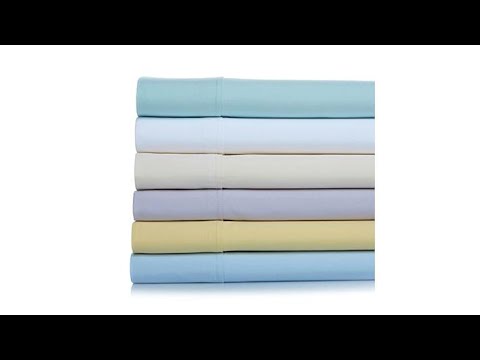 For more infomation >> Concierge Collection Classic Pleated 6piece Sheet Set - Duration: 10:37.


Không có nhận xét nào:
Đăng nhận xét